Making a Hornbeam bowl

I thought it would be a an idea to show the steps I go through to make a basic bowl. For this project I decided to use a piece of hornbeam that I bought a while back.

The first thing is to find the center of the block of wood and mark to a circle.

The next step is to cut out a rough circle on the bandsaw.

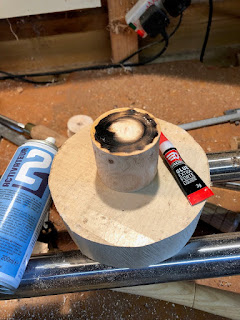
On the other side of the block I fix a piece of scrap wood using super glue. This will be used for mounting the work in the lathe while the bowl is hollowed and will be removed at the end of the process. I must admit being extremely sceptical about using super glue to mount work, but it is incredibly strong if you use the spray activator you can buy.

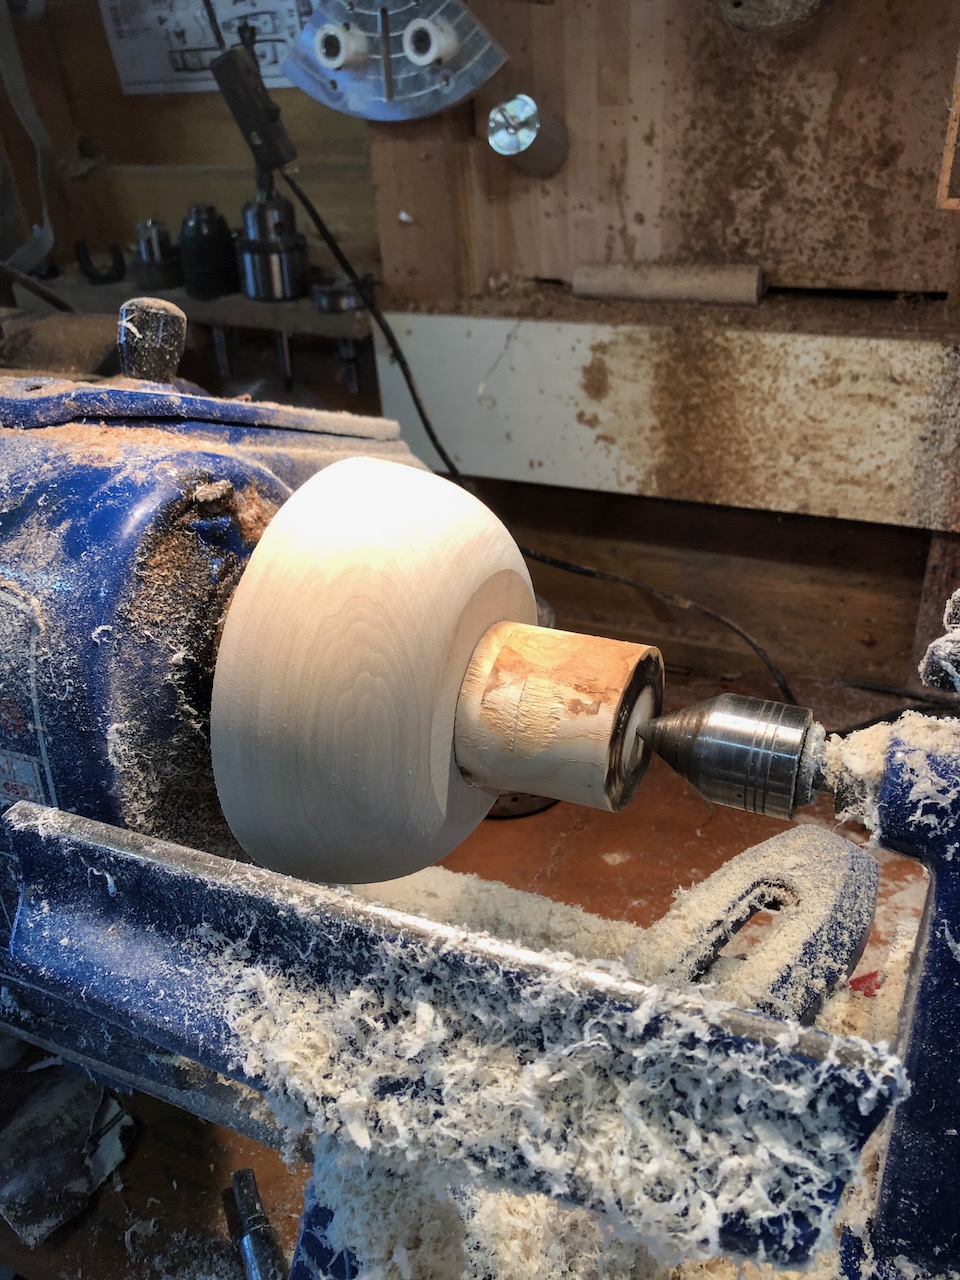
Once this is done I can begin shaping the profile of the bowl, at this stage this is just rough shaping.


The profile will need to be adjusted slightly to allow for any mis alignment when remounting. You can see the screw hole left when the mounting plate was removed

While hollowing it is important to keep checking the thickness of the walls and base
Until the bowl is ready for sanding and polishing

I use a sanding sealer to seal the wood grain which helps achieve a high quality finish.

The piece is then sanded using papers down to 600 grit. I then use a sanding compound which is equivalent to 1000 grit and is wax based giving a pre-polish. It is then finished with a hard wax polish in this cas I used Hampshire sheen


The bowl is now finished the whole process taking about 3 - 4 hrs.


I then screw a mounting plate to the block, this allows it to be attached to the lathe. This side of the piece will be hollowed out to make the bowl and will remove the screw holes.


With the work mounted on the lathe the first job is to turn the scrap wood so it is central and will fit the chuck.

It does however produce a lot of shavings

The work can now be reversed on the lathe and the screw plate removed ready for hollowing out


While hollowing it is important to keep checking the thickness of the walls and base


I then saw off the supporting block of wood and change the chuck jaws to a set that grips the outside of the bowl. This allows me to finish the base using the same sanding and polishing steps as before.

I hope this was interesting, if you have any questions I would be happy to answer them.
Comments
Post a Comment