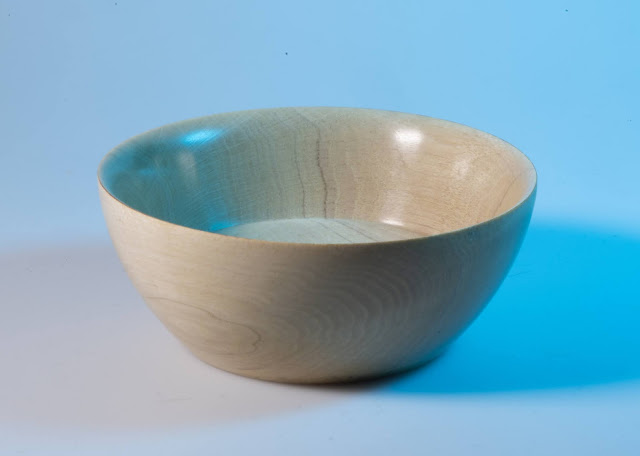
A first attempt with resin
Since I started woodturning, I have been studying other people's work online, on YouTube and in magazines such as American Woodturner, the Journal of the Association of American Woodturners, which I joined. Their resources are amazing and sadly far better than anything I could find in the UK.
I soon realised that much contemporary work utilises resins in its structure, either for decorative effect or as a structural component, allowing less stable wood to be turned. Others have actually moved on to turning pure resin blocks, dispensing with wood altogether.
Always loving the idea of trying something new, I decided to have a go and this post describes the process I used.
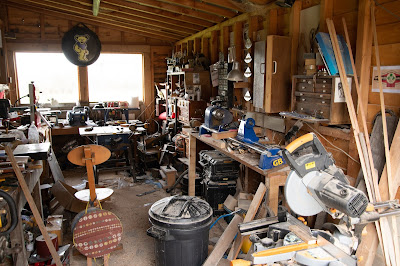
The first task was to choose some wood. I picked a piece of oak I had in the workshop cut from an old beam. Then it was time for a bit of geometry. I drew two circles; the outer gives the maxim circumference of the bowl, the inner is to line up the wooden block standing on the block that I glue on it to hold the work in the chuck (see previous post). I then had to mark out lines marking the centre of each side. This allowed a hole to be drilled along each edge.


With the piece mounted in the lathe I could begin filling the holes. The resin, which is epoxy based, takes about 24 hours to cure, so filling all four holes was a slow process.


Comments
Post a Comment